How to Check Motherboard Model
How to Check Motherboard Model: The Ultimate Step-by-Step Guide for Everyone
Finding out your computer’s “brain board” details is a fantastic skill that every PC owner should have. Whether you are looking to add more RAM, upgrade your CPU, or just want to know your system better, learning how to check motherboard model information is the first step toward success. You do not need to be a professional tech genius or an engineer to figure this out. In fact, you can find these details in less than a minute using simple tools already built into your Windows computer.
Many people feel nervous about looking into their system settings, but there is absolutely nothing to fear. Think of your motherboard as the foundation of a house; knowing its name and version helps you buy the right “furniture” or upgrades later on. In this comprehensive guide, we will explore several powerful methods to identify your hardware. We will cover everything from quick software commands to looking inside the case itself. Let’s dive into these easy steps and get you the answers you need right now!
Why You Need to Know Your Motherboard Information
Understanding your hardware is incredibly empowering because it saves you both time and money. When you know how to check motherboard model numbers, you can easily look up which parts are compatible with your specific machine. For example, if you want to play a new high-end video game, you must ensure your board can handle a powerful graphics card. Without this knowledge, you might accidentally buy a part that does not fit or work, leading to frustration and wasted returns.
Additionally, keeping your computer healthy requires regular driver updates from the manufacturer’s official website. To find the correct drivers for your audio, internet, or chipset, you must provide the exact model name. Using the wrong software can cause your computer to crash or run slowly. By mastering these simple identification techniques, you ensure that your PC stays fast, reliable, and ready for any task you throw at it. It is all about having total control over your technology.
Method 1: Using Windows System Information (The Easiest Way)
The fastest way for most users to get results is through the built-in System Information tool. This classic Windows feature gathers every detail about your computer and puts it in one organized list. To start, click your Start button and type “System Information” into the search bar. Once the window opens, look for the “System Summary” section on the left side. On the right, you will see rows of data that might look complicated at first glance, but we only need two specific lines.
Look specifically for the labels “BaseBoard Manufacturer” and “BaseBoard Product.” The manufacturer is the company that built the board, like ASUS, MSI, or Gigabyte. The product is the actual model name or number of the motherboard. This method is wonderful because it requires zero technical skills and provides the data instantly. It is the gold standard for anyone wondering how to check motherboard model details without downloading extra software or opening their expensive computer case.
Method 2: Running a Quick Command Prompt Trick
If you want to feel like a real tech pro, you can use the Command Prompt to find your hardware details. This method is surprisingly simple and involves typing just one short line of text. First, press the Windows Key + R on your keyboard, type “cmd” into the box, and hit Enter. A black window will appear, waiting for your instructions. Do not be intimidated by the dark screen; it is just a direct way to talk to your computer’s operating system.
Inside the black window, carefully type the following: wmic baseboard get product,Manufacturer. After you press Enter, the computer will instantly spit out the brand and the model number of your motherboard. This trick is extremely useful if your computer is running a bit slow or if you cannot navigate through the standard Windows menus. Knowing how to check motherboard model through the command line is a great “shortcut” that works on almost every version of Windows available today.
Summary of Motherboard Identification Methods
| Method Name | Difficulty Level | Best For | Speed |
| System Information | Very Easy | Beginners & General Users | 30 Seconds |
| Command Prompt | Easy | Quick text-based results | 10 Seconds |
| PowerShell | Easy | Advanced Windows users | 15 Seconds |
| Third-Party Apps | Medium | Detailed temperature/spec monitoring | 2 Minutes |
| Physical Inspection | Hard | When the computer won’t turn on | 5 Minutes |
| DirectX Diagnostic | Easy | Checking for gaming compatibility | 20 Seconds |
Method 3: Utilizing Windows PowerShell for Fast Results
Windows PowerShell is like the modern, more powerful brother of the Command Prompt. It is built into Windows 10 and 11 and offers a very clean way to view your hardware specs. To use this, right-click the Start button and select “Windows PowerShell” or “Terminal.” Once the blue or black window opens, you can use a specific “Get-WmiObject” command to pull your motherboard information. It sounds technical, but it is just as easy as copying and pasting a sentence.
Type this command: Get-WmiObject -Class Win32_BaseBoard | Format-Table Manufacturer, Product, SerialNumber. This will give you a neat table showing the maker, the model, and even the serial number if the manufacturer included it. This is a brilliant way for power users to learn how to check motherboard model data while also getting extra info like the version number. Having the serial number is especially helpful if you need to contact customer support for a warranty claim or technical repair.
Method 4: Checking the BIOS or UEFI Menu
Sometimes, you might need to find your motherboard info before the Windows operating system even loads. This usually happens if you are building a new PC or if your current Windows installation is having trouble starting up. You can find everything you need in the BIOS (Basic Input/Output System). To enter this secret menu, restart your computer and repeatedly tap a specific key on your keyboard—usually F2, F10, F12, or the Delete key—as the screen turns on.
Once you are inside the BIOS, you will see a main dashboard that lists your CPU, RAM, and motherboard model. The layout looks different for every brand, but the model name is almost always displayed prominently at the top. This is the most “honest” way to see your hardware because it comes directly from the board’s own firmware. If you ever find yourself stuck and wondering how to check motherboard model when Windows isn’t working, the BIOS is your ultimate safety net.
Method 5: Using Reliable Third-Party Software
If the built-in Windows tools aren’t giving you enough detail, there are amazing free programs designed by experts to help you. One of the most popular tools is called CPU-Z. It is a tiny, safe program that millions of tech enthusiasts use daily. Once you download and run it, you simply click on the tab labeled “Mainboard.” This screen will show you the manufacturer, the model, the chipset, and even the date the BIOS was last updated.
Another fantastic option is Speccy, made by the creators of CCleaner. Speccy provides a beautiful, easy-to-read interface that shows your motherboard’s temperature alongside its model name. Using these tools is a great way to learn how to check motherboard model specs while also seeing how your computer is performing in real-time. These apps are perfect for people who want a visual layout and more technical data than the standard Windows “System Information” tool provides.
Method 6: The Physical Inspection (Opening the Case)
There are times when software just isn’t an option, such as when you are buying a used motherboard or if the PC won’t power on at all. In these cases, you have to go “old school” and look at the hardware with your own eyes. First, ensure the computer is completely unplugged from the wall to stay safe. Open the side panel of your computer case by removing a few screws. You will see the large circuit board that everything else is plugged into—that is your motherboard.
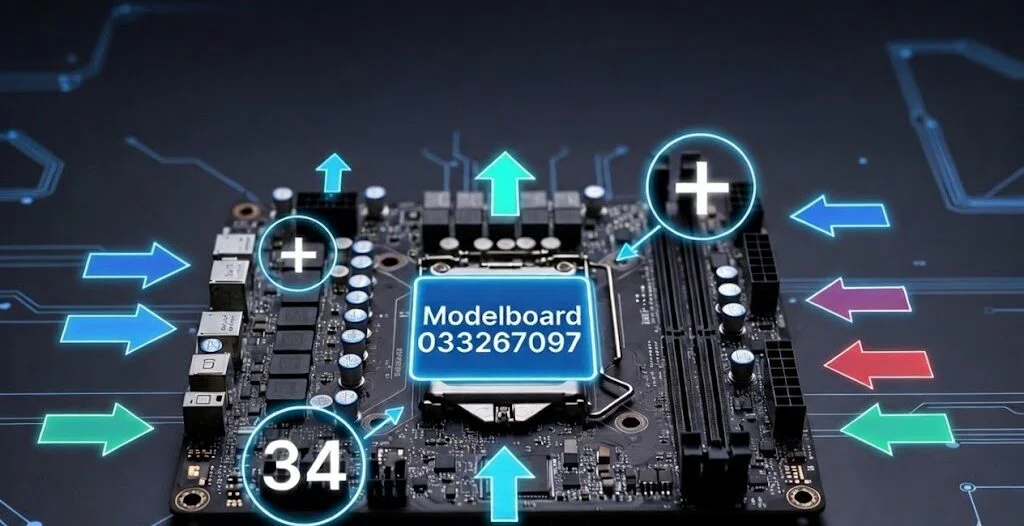
Manufacturers almost always print the model name directly on the surface of the board in large, white letters. Look near the RAM slots or between the PCIe slots (where the graphics card goes). You might see something like “B450 Tomahawk” or “Z790-E Gaming.” This is the most foolproof way of how to check motherboard model identity. Just be careful not to touch the sensitive components with your bare hands, as static electricity from your fingers can sometimes damage the delicate electronics.
Understanding the Difference Between Brand and Model
When you are searching for your hardware details, it is important to understand what the names actually mean. The “Manufacturer” or “Brand” refers to the company, such as ASUS, MSI, Gigabyte, or ASRock. These companies take the core technology from Intel or AMD and build their own versions of motherboards around it. The “Model Name” is the specific version, which usually includes a series of letters and numbers that tell you about the board’s features and power.
For example, if your computer says “ASUS Prime Z790-A,” then ASUS is the brand and Z790-A is the specific model. Knowing both parts of the name is essential when you are looking for manual downloads or troubleshooting tips. People often get confused by the long strings of characters, but once you know how to check motherboard model names properly, you will start to see the patterns. The model name tells you exactly what the board is capable of doing and what parts it can support.
Identifying Your Motherboard via the DirectX Diagnostic Tool
Another “hidden” tool inside Windows that can help you is the DirectX Diagnostic Tool, also known as “dxdiag.” While this tool is mostly used to fix problems with games and videos, it also displays basic system information. To open it, press the Windows Key + R, type “dxdiag” into the box, and press Enter. A window will pop up asking if you want to check your drivers; just click “Yes” to continue to the main screen.
On the “System” tab, look for the lines labeled “System Manufacturer” and “System Model.” For many custom-built computers, this will show your motherboard’s brand and model perfectly. However, if you bought a pre-built computer from a company like Dell or HP, it might just show the model of the whole computer instead. Still, it is a very fast and helpful way to learn how to check motherboard model details when you are already checking your graphics card or sound settings for a new game.
What to Do Once You Have Your Model Number
Now that you have successfully used one of these methods to find your motherboard’s name, you might be wondering what the next step is. The best thing to do is visit the manufacturer’s official website and type your model number into their search bar. This will take you to a dedicated support page where you can download the “User Manual.” This manual is like a treasure map for your computer, showing you where every plug and wire goes.
You can also find a “Compatibility List” on the same page. This list tells you exactly which CPUs and RAM sticks will work with your board. This prevents you from buying parts that are too new or too old for your system. Mastering how to check motherboard model information is truly the gateway to becoming a more confident computer user. You no longer have to guess about what is inside your machine; you have the facts right in front of you to make smart decisions.
Common Problems When Searching for Motherboard Info
Sometimes, you might try to find your motherboard details and see a frustrating message that says “To Be Filled By O.E.M.” or “BaseBoard Product.” This usually happens with very cheap computers or certain pre-built systems where the builder didn’t “label” the software correctly. If this happens to you, don’t worry! It just means the software methods (like Command Prompt) won’t work. This is the perfect time to use a third-party app like CPU-Z or perform a physical inspection.
Another common issue is finding multiple version numbers, like “Rev 1.0” or “Rev 2.0.” This stands for “Revision” and means the company made small changes to the board over time. If you see a revision number, make sure to write it down alongside the model name. When you are downloading BIOS updates, choosing the wrong revision can be a big mistake. Learning how to check motherboard model revisions ensures that you are getting the most accurate and safe software for your specific piece of hardware.
Tips for Upgrading After Identifying Your Motherboard
Once you are 100% sure of your motherboard model, upgrading becomes a fun and exciting project rather than a stressful chore. If you want a faster computer, check if your motherboard supports “NVMe SSDs” for lightning-fast boot times. If you want to do more things at once, look up the maximum amount of RAM your board can hold. Most modern boards can handle 32GB or 64GB, which is plenty for almost anyone.
Always remember to check the “Socket Type” of your motherboard before buying a new processor. For example, an Intel motherboard will not work with an AMD processor, and even different generations of Intel chips require different sockets. By knowing how to check motherboard model specs, you can verify the socket type on the manufacturer’s website. This simple check protects your investment and ensures that your upgrade process is smooth, successful, and totally rewarding.
Final Thoughts on Mastering Your Hardware
Being a PC owner is about more than just clicking a mouse; it is about understanding the powerful machine that sits on your desk. We have covered many different ways to identify your hardware, from the simple System Information window to the more advanced BIOS and physical checks. No matter which path you choose, the result is the same: you gain the knowledge needed to maintain and improve your computer like a professional.
Technology can feel overwhelming, but when you break it down into small steps, it becomes very manageable. Now that you know how to check motherboard model information, you are ready to tackle any upgrade or repair with ease. Keep this guide handy for the next time you—or a friend—need to look under the hood of a PC. Your journey into the world of computer hardware has just begun, and you are already off to a great start!
Frequently Asked Questions (FAQs)
1. Can I find my motherboard model without opening my PC?
Yes, absolutely! You can use the Windows System Information tool, the Command Prompt, or free software like CPU-Z to find the model name in seconds without ever touching a screwdriver.
2. What if my computer says “To Be Filled By O.E.M.”?
This is a common message in some pre-built computers. It means the manufacturer didn’t program the model name into the software. In this case, you should use a third-party tool like Speccy or look for a label printed directly on the motherboard inside the case.
3. Is it safe to use the Command Prompt to check my hardware?
Yes, it is completely safe. The commands used to check hardware are “read-only,” meaning they only look at information and do not change any settings on your computer.
4. Why is the motherboard model name so long and confusing?
Motherboard names often include the chipset (like B550 or Z790) and the specific feature set (like “Gaming,” “WiFi,” or “Pro”). These names help enthusiasts quickly identify what the board is capable of doing.
5. Do I need to know my motherboard model to update Windows?
No, Windows updates usually happen automatically. However, you do need to know your motherboard model if you want to manually update your BIOS or specific hardware drivers like your sound or LAN card.
6. Will knowing my motherboard model help me find more RAM?
Yes! Once you have the model name, you can look it up on the manufacturer’s website to see what type of RAM (DDR4 or DDR5) it uses and how much total memory it can support.
Conclusion: Take Charge of Your Tech Today
You have now learned the most effective and reliable methods for identifying your computer’s motherboard. From the simplicity of the System Information tool to the professional feel of the Command Prompt, you have a variety of “keys” to unlock your system’s secrets. This knowledge is the foundation of good PC maintenance and will serve you well for years to come. Whether you are a student, a gamer, or a professional, knowing your hardware makes you a smarter and more capable user.